
Hub documentation
在 Hugging Face 上使用 timm
在 Hugging Face 上使用 timm
timm,也称为 pytorch-image-models,是一个开源的 PyTorch 图像模型集合,包含最先进的预训练权重以及用于训练、推理和验证的实用脚本。
本文档侧重于 Hugging Face Hub 中的 timm 功能,而非 timm 库本身。有关 timm 库的详细信息,请访问其文档。
您可以在 模型页面 左侧的筛选器中,找到 Hub 上的许多 timm 模型。
Hub 上的所有模型都附带多项实用功能:
- 自动生成的模型卡片,模型作者可以补充有关其模型的信息。
- 元数据标签有助于用户发现相关的
timm模型。 - 一个交互式小部件,可直接在浏览器中操作该模型。
- 允许用户发起推理请求的 Inference Providers。
使用 Hub 上的现有模型
只要安装了 timm,Hugging Face Hub 上的任何 timm 模型都可以用一行代码加载!从 Hub 中选定模型后,将带有 hf-hub: 前缀的模型 ID 传递给 timm 的 create_model 方法,即可下载并实例化该模型。
import timm

# Loading https://huggingface.co/timm/eca_nfnet_l0
model = timm.create_model("hf-hub:timm/eca_nfnet_l0", pretrained=True)
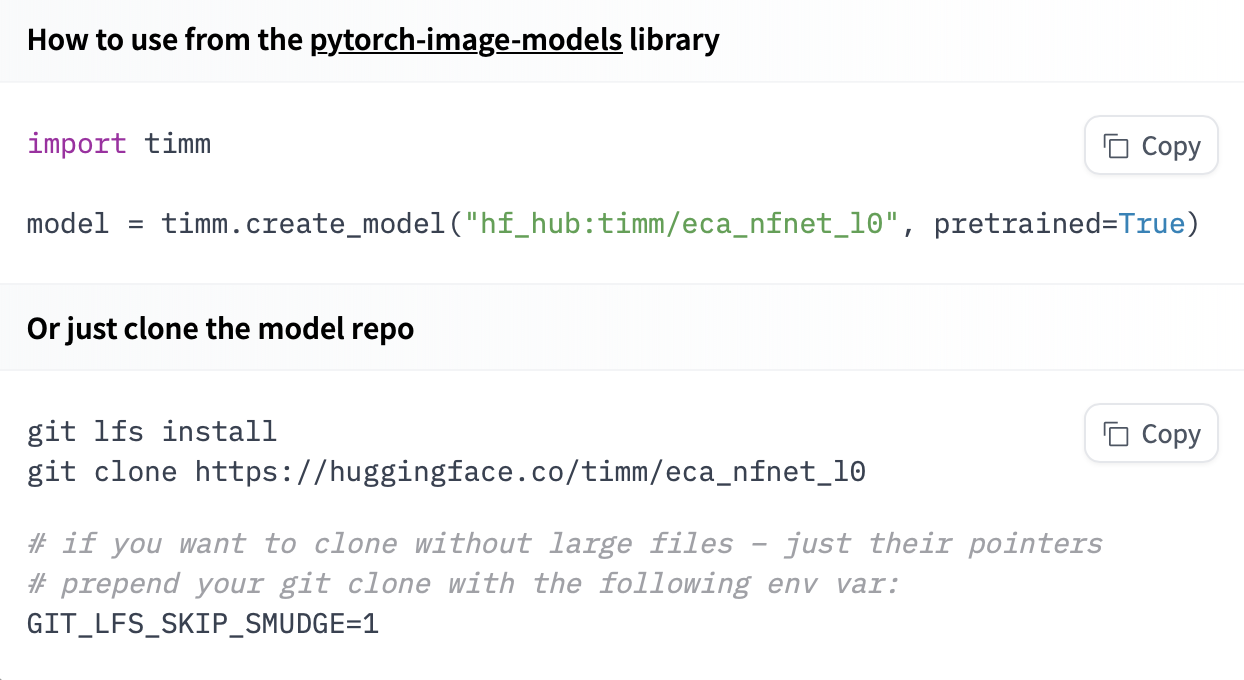
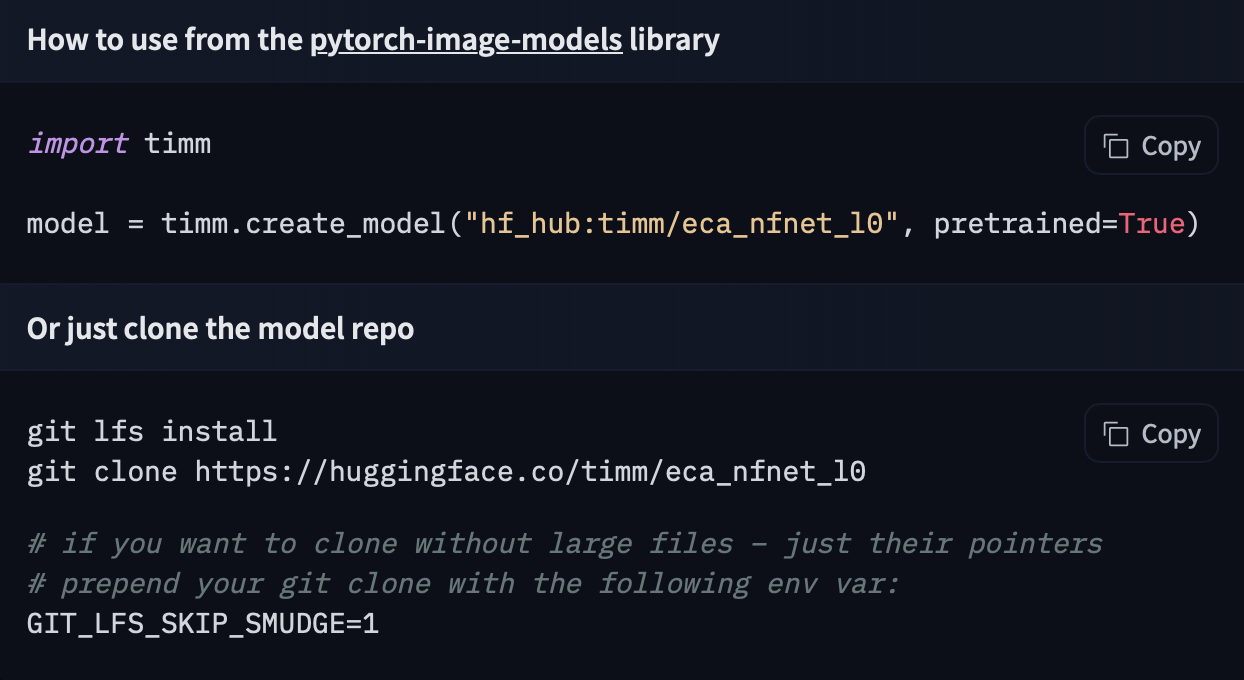
如果你想查看如何加载特定模型,可以单击 Use in timm,即可获得一个可运行的加载代码片段!


推理
以下代码片段展示了如何对从 Hub 加载的 timm 模型执行推理:
import timm
import torch
from PIL import Image
from timm.data import resolve_data_config
from timm.data.transforms_factory import create_transform

# Load from Hub 🔥
model = timm.create_model(
    'hf-hub:nateraw/resnet50-oxford-iiit-pet',
    pretrained=True
)

# Set model to eval mode for inference
model.eval()

# Create Transform
transform = create_transform(**resolve_data_config(model.pretrained_cfg, model=model))

# Get the labels from the model config
labels = model.pretrained_cfg['label_names']
top_k = min(len(labels), 5)

# Use your own image file here...
image = Image.open('boxer.jpg').convert('RGB')

# Process PIL image with transforms and add a batch dimension
x = transform(image).unsqueeze(0)

# Pass inputs to model forward function to get outputs
out = model(x)

# Apply softmax to get predicted probabilities for each class
probabilities = torch.nn.functional.softmax(out[0], dim=0)

# Grab the values and indices of top 5 predicted classes
values, indices = torch.topk(probabilities, top_k)

# Prepare a nice dict of top k predictions
predictions = [
    {"label": labels[i], "score": v.item()}
    for i, v in zip(indices, values)
]
print(predictions)
这样你应该会得到一个预测列表,如下所示:
[
    {'label': 'american_pit_bull_terrier', 'score': 0.9999998807907104},
    {'label': 'staffordshire_bull_terrier', 'score': 1.0000000149011612e-07},
    {'label': 'miniature_pinscher', 'score': 1.0000000149011612e-07},
    {'label': 'chihuahua', 'score': 1.0000000149011612e-07},
    {'label': 'beagle', 'score': 1.0000000149011612e-07}
]
共享您的模型
您可以将 timm 模型直接共享到 Hugging Face Hub。这会将您的模型的新版本发布到 Hugging Face Hub,如果该模型仓库尚不存在,则会为您创建一个。
在推送模型之前,请确保您已登录 Hugging Face:
python -m pip install huggingface_hub
hf auth login
或者,如果您更喜欢在 Jupyter 或 Colaboratory 笔记本中操作,安装 huggingface_hub 后,您可以使用以下命令登录:
from huggingface_hub import notebook_login
notebook_login()
然后,使用 push_to_hf_hub 方法推送你的模型:
import timm

# Build or load a model, e.g. timm's pretrained resnet18
model = timm.create_model('resnet18', pretrained=True, num_classes=4)

###########################
# [Fine tune your model...]
###########################

# Push it to the 🤗 Hub
timm.models.hub.push_to_hf_hub(
    model,
    'resnet18-random-classifier',
    model_config={'labels': ['a', 'b', 'c', 'd']}
)

# Load your model from the Hub
model_reloaded = timm.create_model(
    'hf-hub:<your-username>/resnet18-random-classifier',
    pretrained=True
)
其他资源
- timm (pytorch-image-models) GitHub 仓库。
- timm 文档。
- 由 Aman Arora 提供的 timmdocs 中的更多文档。
- PyTorch 图像模型(timm)入门:实践者指南,作者为 Chris Hughes。